Thursday, April 21, 2011

Spring Time Daffoldils

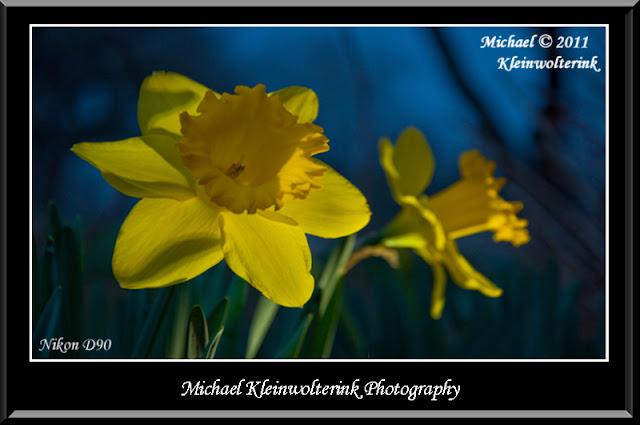
With alittle bit of sunshine and warm temperatures, the daffodils are in full bloom this spring. Knowing where there are some flower beds in the area, when the wind was right, I took the opportunity to take some images. With any wind at all, it was tough to keep the daffodils in focus which had me shooting early in the morning or at dusk.
I was able to try out the new lense that I purchased over the winter, the Nikon 12-24 f4 on the D90 along with the 18-105mm. The 12-24 is a wide angled lense and will be a joy to use. I used the Gorilla tripod to be able to get sharp images and the ability for it to get low to the ground and at different angles with its ‘crazy’ legs. With different lighting conditions, I had the camera in AV mode and RAW along with adjusting the aperture and ISO if needed. For the images taken after dusk, I even used the flashlight app off my Droid smart phone to help with lighting.
I processed these in ViewNX and CameraRAW by changing the white balance and picture control. This was done to get the colors to my liking to make the images standout. The sharpening and contrast sliders were also adjusted. Once the images were finalized in ViewNX and CameraRAW, they were sent into PSE8 after being cropped.  In PSE8, cloning was done if needed to get rid of unwanted branches and the like. To create special effects on the images, layer masks and guassian blur tools were used in different ways. Finally, the Virtual Studio plug-in was used for a black and white treatment for the background on a select few images to help the daffodils come off the paper.

#1.


#2.

#3.

#4.

#5.

#6.

#7.

#8.

#9.

#10.

#11.

#12.

#13.

#14.

#15.

#16.

#17.

#18.

#19.

#20.

#21.

#22.

#23.

#24.
Tuesday, April 5, 2011

Super Moon

During the third week of March, the moon was going to orbit closer to Earth then it had for 20 years. This was deemed to be a Super Moon and I was hoping to capture images of the moon since I hadn’t done any moon shots yet. On the Saturday night that the moon was supposed to be the brightest, cloud cover kept me from getting any shots at all. Luckily, on that Monday when going to the snow goose spread, the sky was clear and I had 10 minutes to get the images I wanted.

The 70-300mm was quickly put on the Nikon D90 and I zoomed out to 300mm. I used my Jeep or the Ranger to steady my camera to help with getting a sharp image. Having only 300mm, I had to crop these images in ViewNX but after processing them, I am quite pleased with the results.

#1.

#2.
#3.

Chasing Whitey

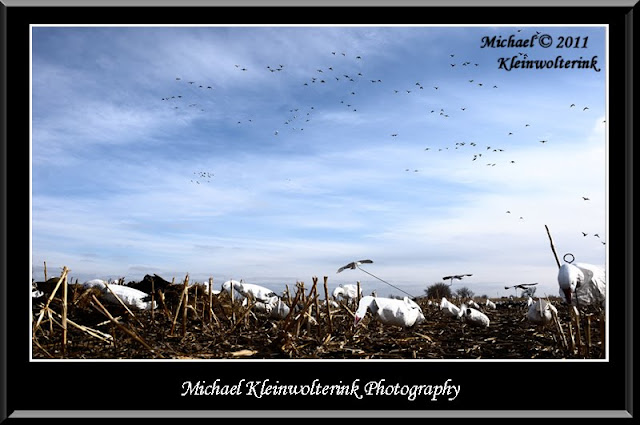
During the month of March, with the snow goose conversation season going on, I was out in the corn fields of central Iowa hoping to see some white. As anyone that knows, snow goose hunting can be either very exciting or very maddening depending on what the birds do above your spread. Luckily for me, I experienced both the good and the bad and had the camera along for the ride.


I used either the Nikon 18-105mm or 70-300mm lense on the Nikon D90 to capture these images. To have the ability to control the depth of field and for better post processing capabilities I shot in AV mode and RAW. Depending on the light, I adjusted ISO to hopefully get enough shutter speed to freeze the birds. At times, with poor light, I didn’t crank up the ISO high enough. I also tried for the first time setting my camera on a Joby Gorillapod flexible mini tripod next to my blind and triggering it using the Hahnel remote control. Unfortunately, with poor lighting and missed manual focus, the images didn’t come out tack sharp.


I processed the RAW files in ViewNX and finished post processing them in PSE8. Most of the adjustments were done in ViewNX by correcting the white balance, sharpness, contrast and picture controls. With ViewNX 2.0, I was also able to crop and rotate the images if needed. In PSE8, small adjustments were made to hue/saturation and action curves.


#1.
#2.
#3.
#4.
#5.
#6.
#7.
#8.
#9.
#11.
#12.
#13.

#14.
#15.
#16.
#17.
#18.


The images below were created by changing the picture control curve underneath the Picture Control Utility. I basically adjusted the curve just above the images histogram to really change the appearance of the image. These images are almost infrared like in character and I thought were neat to see on the computer screen.
#1.

#2.

#3.

#4.

#5.
#6.

#7.