Saturday, August 16, 2014

Tiger Lilies Up Close


Back in June, bright pink and white tiger lilies were in full bloom and on a calm night, I was able to get out and take photographs of these beautiful flowers.

I like to get up close to the lilies so I used my Zeikos extension tubes on the 24-120 lense and the D90. Because I’m shooting macro, I put the camera on my tripod and use a 5 second self timer to keep camera vibration to a minimum. I manual focus and had VR off on the lense. Shooting in RAW, the aperture was right around f18 or f22 in ISO 200 or 400. Exposure compensation was also adjusted and I added in the SB-700 speed light too. I took different photographs with the flash at different angles.

Once uploaded in ViewNX, I changed the white balance to direct sunlight and used three different picture controls (standard, landscape, nature-landscape). Highlight and shadow sliders were also adjusted to fine tune the image. I did create a couple HDR images so I processed them like in the past by creating multiple exposed images and merging them together in Easy HDR.

Photoshop Elements 11 put the final touches on the image using the clone brush tool, levels layer, and high pass filter. The clone brush helped me get rid of unwanted insects that flew into the frame while taking the picture and the levels layer helped with exposure. I used the high pass filter to sharpen the image when I was done.

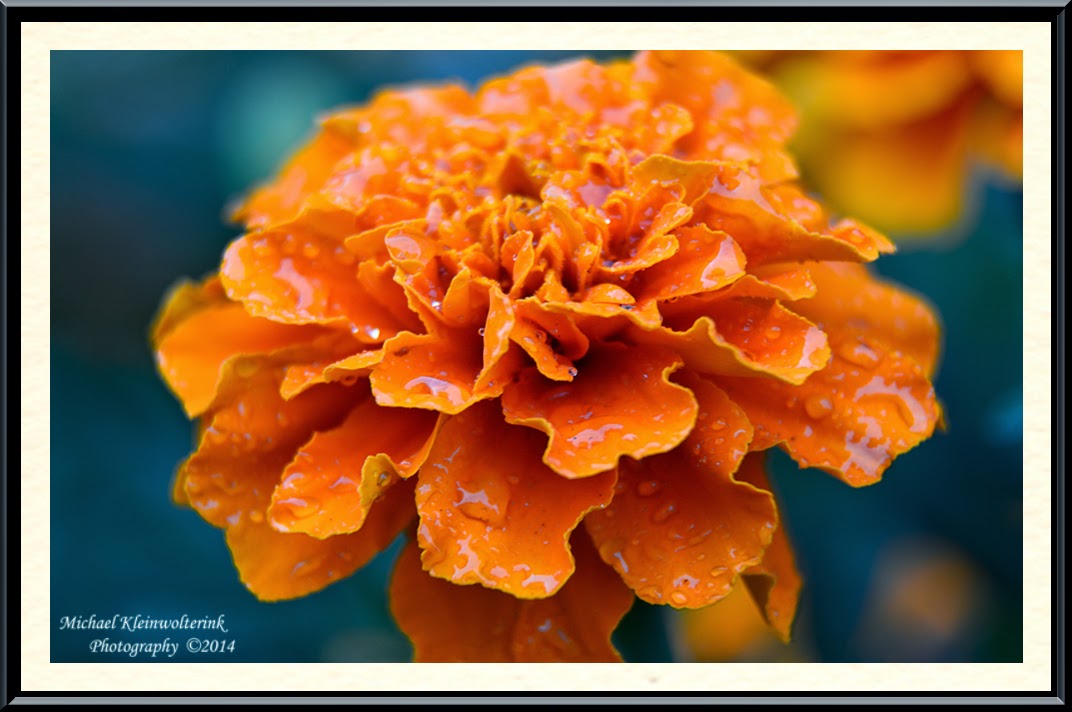
While getting my D90 fixed, I rented the Nikon D7100 for 10 days and took a few close up flower shots as well to see how it compared to the D90. The increased resolution between the cameras is visible as the D7100 picks up more detail on the orange flower in my mind. I only took a dozen shots of flowers with the D7100 but used it a couple nights at the golf course so I look forward to processing them.

#1.
 
#2.
 
#3.
 
#4.
 
#5. Bokeh filter as background
 
#6. HDR
 
#7.
 
#8.
 
#9.
 
#10. HDR
 
#11. Taken with D7100
 
#12. Taken with D7100
 
#13. Taken with D7100
Friday, August 1, 2014

4th of July Fireworks - Lake Panorama


A day after the 4th of July, Lake Panorama set off their fireworks at dusk so I headed to the marina and set up my camera to get the water, lighthouse and firework bursts in the same shot.
Now after having trouble with the D90 the previous shoots, tonight my Hahnel remote and lcd display did not work at all. This forced me to use the shutter button on my camera which caused these images not to be as sharp as I would like. I still had the 24-120mm on the camera set to manual focus and VR off. The Slik tripod was used but as I mentioned above, even with a sturdy tripod, hitting the shutter button still caused some blurriness in these longer exposed shots. Manual exposure was set to bulb and either f11 or f14 aperture. Exposures ranged from 2-20 seconds in ISO 200 shooting in RAW and exposure compensation at 0.
I either processed these images as HDR’s or used Adobe Camera RAW to adjust the files. For the HDR images, I created different files using View NX by changing the exposure compensation. Easy HDR was then used to merge the files and process them into HDR images. Adobe Camera RAW allowed me to boost the shadows to better expose the lighthouse without greatly affecting the rest of the image on the files I didn’t turn into HDR. I also used the charity, vibrance and saturation sliders in this program.

To finalize the firework images, I used PSE 11 by using a levels layer, clone brush, sharpen tool and straighten/crop tool. Using the levels layer plus their layer masks allowed me to increase the brightness of certain areas of the image while keeping the other areas dark. The clone brush allowed me to get rid of unwanted objects and the sharpen tool was used mainly on the firework burst and lighthouse to sharpen those areas. The final step was to straighten the image and crop if needed.

While taking the photographs, I moved up and down the marina shore and ended up trying to get the fireworks directly behind the lighthouse. Having never done this before, it was an experiment and the photographs turned out fairly well.  A larger lense might be used the next time to really bring in the scene between the fireworks and lighthouse.

#1.
 
#2.
 
#3.
 
#4.
 
#5.
 
#6.
 
#7.
 
#8.

Saturday, July 19, 2014

Yale's 4th of July Fireworks

On the 4th of July, I found myself along highway 4 looking towards Yale capturing their firework show. I used the bed of my truck for my shooting platform and set up my equipment.

The D90 was still giving me trouble even without using my Hahnel remote. The connection port for the remote was very loose which I thought was causing the lcd display not to work, but I was wrong. Once again, I had to set up my camera settings off of past experience. I had my camera on the Slik tripod and 24-120mm lense set to manual focus and VR off. I used either a 50mm or 75mm focal length to capture the scene. Manual exposure was set up bulb as the shutter speed and f9 as the aperture. Exposures ranged from 4 – 25 seconds in ISO 200. I also was in RAW and left the exposure compensation at 0.

Using View NX I processed the RAW files and was happy with a number of settings right out of the camera so I left the white balance alone and didn’t change the picture control on the majority of the images. On a few of them, I did change it to Landscape to help improve the color of the firework burst. Mostly I adjusted the exposure compensation and highlight/shadow sliders if need be. I did make a couple HDR images so I followed the same steps as I used in the previous post.

I then worked on the TIFF files from ViewNX using PSE 11 by using a levels layer, clone brush and the sharpen tool. Using the levels layer plus their layer masks allowed me to increase the brightness of certain areas of the image while keeping the other areas dark. The clone brush allowed me to get rid of unwanted objects and the sharpen tool was used mainly on the firework burst to sharpen that area. The final step was to straighten the image and crop if needed.

The last few years, I’ve been shooting the firework scene from highway 4 so next year I hope to get a different perspective by going to a different vintage point.

#1.
 
#2.
 
#3.
 
#4.
 
#5.
 
#6.
 
#7.
 
#8.
 
#9.
 
#10.
 
#11.


Tuesday, July 8, 2014

Yankee Doodle Pops Fireworks - Des Moines, IA

Over the 4th of July weekend, I found myself at a new venue to take firework photographs while spending time with my family. In downtown Des Moines at the capital, the Des Moines Symphony put on a great night of music followed by a splendid show of fireworks. Being a new venue, I didn’t know for sure were the fireworks would explode in the sky and how to deal with the number of people there. My D90 also threw me a curveball when the back monitor and a number of bottoms stopped working! I was unable to see how my long exposed shots were turning out because of this malfunction.

Because of the trouble with the camera, I went off past experience. I had the 24-120mm lense on the D90 and my Slik tripod placed on top of a flower bed to try to get above some of the spectators. I switched off VR and manual focused to infinity. I notched my control dial to manual and set the shutter speed at bulb and aperture at f11 and later in the show f16. I used my Hahnel remote to trigger the shutter and kept it held down while the fireworks went off. The exposures lasted between 3 and 15 seconds. I of course used the D90’s base ISO of 200 and shot in RAW.
The next day, I uploaded the files onto my laptop and was glad to see that my past experience had paid off and the images turned out pretty well for what I was dealt with. In View NX, I left the white balance unchanged and changed the picture control to Landscape. I also used the highlight slider if needed as well.  I took three of the images a step further into Easy HDR and made 5 different exposed images in ViewNX by changing the exposure compensation to create HDR images.
I ended the post processing in PSE 11 by first cloning out unwanted objects using the clone tool. The next step of using a levels layer and layer masks allowed me to fine tune the look of the firework explosions to help reduce blown high lights. Next came straighten the image using the rotate tool to get the skyscrapers looking right followed by cropping the image. The final step was using the sharpen tool to sharpen the firework burst and some of the skyscrapers.
In the end, I was very happy with how the Yankee Doodle Pops Firework images turned out with the issues that occurred during the shoot. Next time, I want to try for a higher vantage point to get away from other people and also get a better view of the city of Des Moines.

#1.
 
#2.
 
#3.
 
#4.
 
#5. HDR Processed
 
#6.
 
#7.
 
#8. HDR Processed
 
#9.
 
#10.
 
#11.
 
#12.
 
#13.
 
#14. HDR Processed

Sunday, June 22, 2014

Golden Corn Fields over FC Coop 14

In  late June I took to the corn field to capture the sitting sun behind Yale’s FC Coop. Wanting to get myself in the shots like I was scouting the corn field, I had to position myself between the two sets of grain bins. This was a trail & error situation until I found the right spot and then left my camera strap lying on the corn. I was able to walk though the corn field to the strap in the 15 seconds I had set for the self timer on the D90 and try to pose.

I had the D90 set up on my Slik tripod above the corn and had the 24-120 mm lense with a focal length of 62mm. Being on a tripod, I had VR off and used manual focus. I set the focus to infinity to allow most everything in the scene to be in focus.  Camera settings were RAW, aperture priority and ISO of 200. I used either f13 or f9 to capture the scene along with an exposure compensation of -2 or 0.

To process the RAW files, I used ViewNX 2 and Adobe Camera Raw. Using ViewNX, I changed the white balance to shade and the picture control to Nature-Landscape. To be able to make HDR images out of the files, I did make separate files using exposure comp. of -1, -.5, 0, .5 & 1.0. I did this on a couple of the files to try to show the whole dynamic range of the scene. I created the HDR image using EasyHDR. The other RAW files were adjusted using Camera Raw using the sliders in that program such as exposure, contrast, highlights, shadows, clarity, vibrance and saturation.

I finished off the processing in PSE 11 by cloning out one wanted sun spots and other items in the image. Made sure my background lines were straight and adjusted if need using the rotate tool. To sharpen the image, I than used the high pass filter along with a layer mask. This allowed me to brush out areas that I didn’t want sharpened, mostly the sky.

With the rain and warm temperatures, the corn has quickly grown over my head in a few days so I’m glad I was able to capture these farming scenes.
 
 
1.
 
2.
 
3.
 
4.
 
5.
 
6.
 
7.