Tuesday, August 28, 2018

Summer Sunflowers in 2018

Equipment Used: Nikon D750, Tamron 24-70 mm f2.8 G2 lense, Tamron 70-200 mm f2.8 G2 lense, Nikon SB-700 Speedlight, Zeikos Macro Extension Tube, Vanguard Abel Plus 363CT tripod, Viltrox Remote Control, Lightroom & Photoshop CC

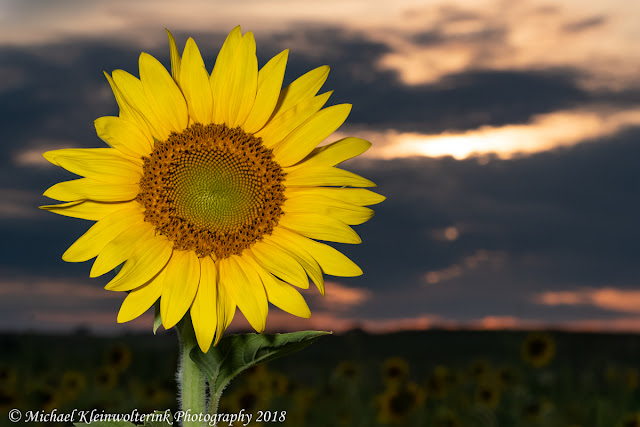
Back in July, I traveled to the local sunflower plot with my camera on two different afternoons to capture the scene. Like I always seem to do when deciding to get pictures of them, the majority of the sunflowers were past their prime so I walked around to find a few that I liked.

I used the D750 with the two Tamron lenses on the Vanguard tripod and composed the sunflower to take up the majority of the frame. I zoomed in on live view to focus and then switched autofocus and VR off. ISO was set at 100 while aperture was set at f9, f16 or f22.  The self timer on the camera body was used so I could trigger and hold my SB-700 on the sunflower. Since I was using a flash, I did consistently have the EV set in negative values. I took one sunflower home to get some macro images and I used the Zeiko extension tubes to get a real close image.

A sunflower preset was created in Lightroom for this set of images and then I fine tuned each image off of that preset. Adjustments included slider adjustments under the presence, saturation, and detail tabs. Radial exposure filters were used to either darken or brighten the sunflower head or other parts of the image.

Since I was shooting fairly close up to these sunflowers, I had to clone out imperfections in the pedals of the sunflowers from bugs and wear and tear from being out in nature. Using the healing brush, content aware patch tool and clone tool, I was able to do this pretty good.  I added some vibrancy to the sunflower heads or sunset by using the vibrance layer as well. To create the black and white images, I used the black & white adjustment layer in PS and then brushed out the pedals to allow the yellow to show though.


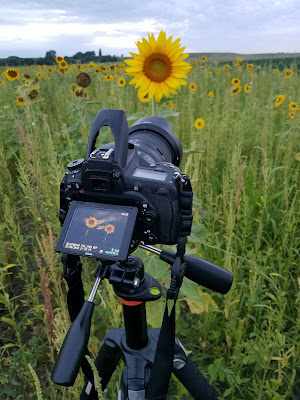
New for this write up are a few images of my camera equipment while shooting the sunflowers to show how I captured the close up images of the them. 

#1.

#2.

#3.

#4.

#5.

#6.

#7.

#8.

#9.

#10.

#11.

#12.

#13.

#14.

#15.

#16.

A few shots of my equipment set up when taking the above images:


Tuesday, August 14, 2018

Panorama Day Fireworks on Lake Panorama - 18 Edition

Equipment Used: Nikon D750, Tamron 24-70 mm f2.8 G2 lense, Nikon SB-700 Speedlights on Vello Wireless Flash triggers, Vanguard Abel Plus 363CT & Slik Pro tripod, Viltrox Remote Control, Lightroom & Photoshop CC

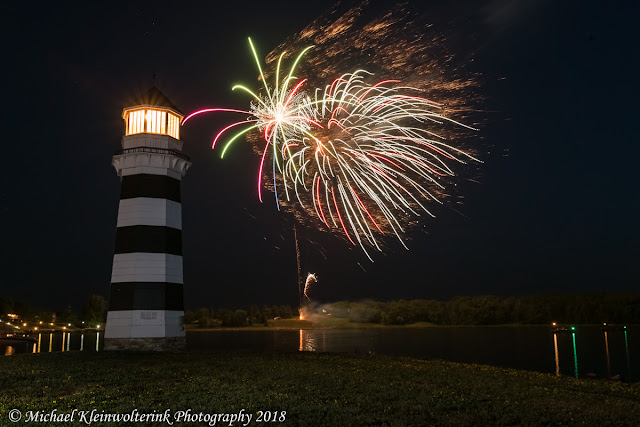
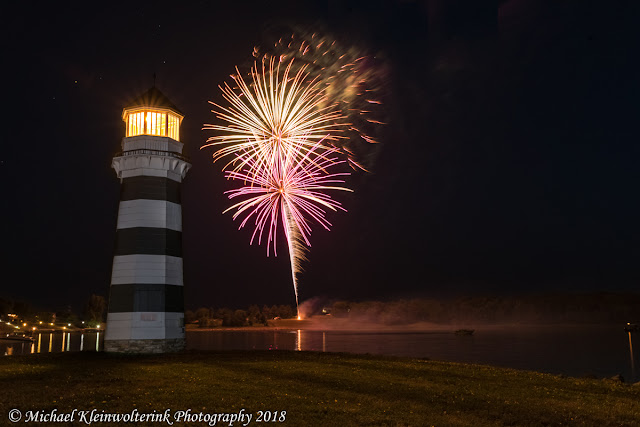
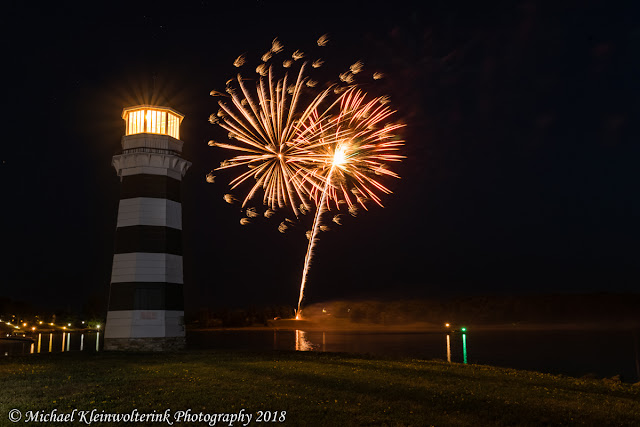
This year, Panorama Day’s fireworks were set off on Friday night so I walked out to the lighthouse on the main basin of Lake Panorama and waited for them to go off on the south shore.  After having an issue with misfocused images during the 4th of July, I made sure the lense was focused correctly.

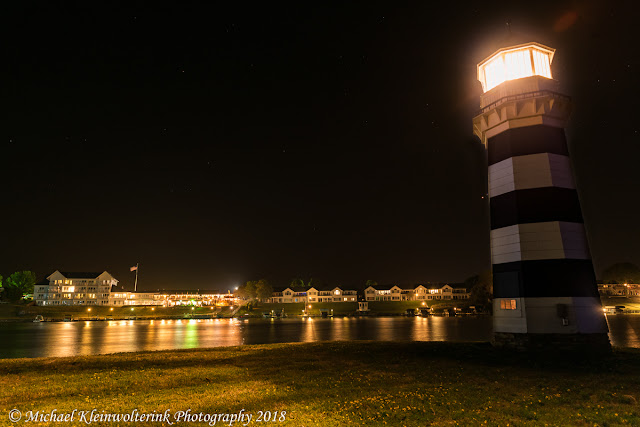
I put the D750 on the VanGuard tripod and attached the Viltrox Remote Control on the camera while putting the SB-700 Speedlight on the Slik tripod. The Vello wireless flash trigger was attached to the speedlight. I shot at an aperture of f9.0 and ISO 400 while the lense was at 35mm. Shutter speeds ranged from 1 to 10 seconds. While the camera was capturing the firework bursts, I’d hit the trigger to set off my speedlight to light up the lighthouse.

The images were first batch processed in Lightroom by using the firework presets that I’ve developed since last summer. I then adjusted the images individually for exposure and saturation while adding radial filter to reduce the exposure of the grass on the jetty below the lighthouse. These processed files were then exported as TIFF’s to Photoshop.

The first step in PS was using the clone or healing brush to get rid of unwanted objects in the images. About the only object that needed remover was a Canada goose that stood on the end of the jetty by the lighthouse during the firework show, imagine that! The fireworks were shot off with some going left while others went right which allowed me to blend multiple images together to get a bigger more dramatic burst of fireworks. To do this, I used layer masks and different blending modes. I also took the best exposed lighthouse image and used it on different images as well. I added some vibrancy to the firework bursts by using the vibrance layer as well.

The panoramic image was taken before the fireworks were going off so after combining those images in LR, I then added the fireworks using PS that I captured later.

At the end of the firework show, I then turned my camera towards the condo’s and the Port to capture that scene that overlooks Lake Panorama.


I’m very pleased with how these fireworks turned out and can’t wait to put them on metal prints and drink coasters. 

 #1.

#2.

#3.

#4.

#5.

#6.

#7.

#8.

#9.

#10.

#11.

#12.

#13.

#14.

#15.

#16.

#17.

#18.

#19.

#20.

#21.

Monday, August 6, 2018

Milky Way over Templeton Barn & Corn Crib - July 18 Edition

Equipment Used: Nikon D750, Tamron 24-70 mm f2.8 G2 lense, 2 Nikon SB-700 Speedlights on Vello Wireless Flash triggers, Vanguard Abel Plus 363CT tripod, Lightroom & Photoshop CC

Using the PhotoPills app, I’ve been keeping an eye on the planner section of the app to see when the Milky Way is at its brightest and if sky conditions are clear, I head out with my camera during the wee hours of the night. This has only happened once so far this summer.

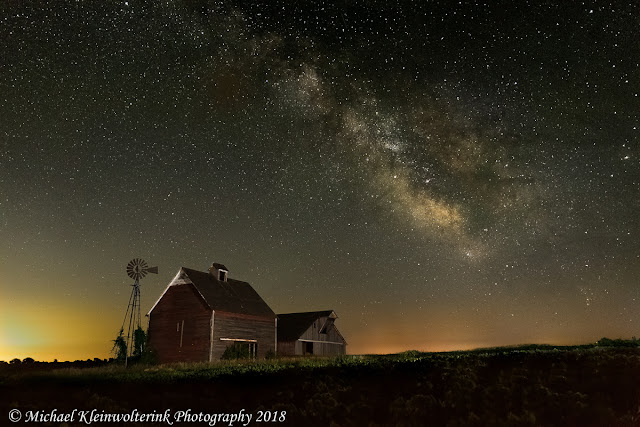
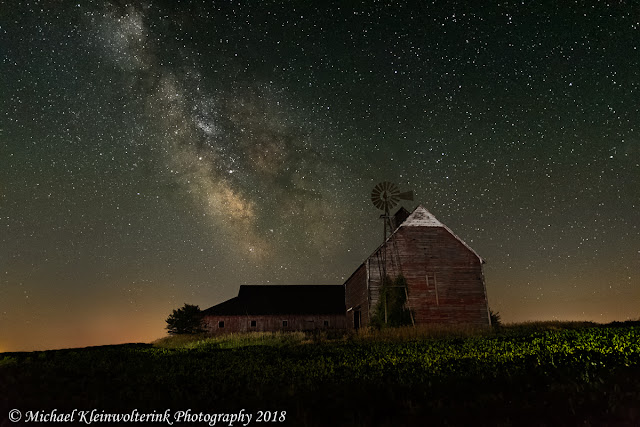
I traveled to one of my favorite spots to take night shots and set up my equipment around the old farm buildings in the bean field. The D750 was on the Vanguard tripod with the 24-70mm lense. The lense was wide open with autofocus and VR turned off.  I used an 8 second exposure for the majority of these images while adjusting the ISO. For the sky, ISO 3200-6400 was used while for the building exposures, I went ISO 800-1600.  The speedlights were set on homemade light stands and triggered using Vello’s flash trigger.

Capturing images to create panoramics was much harder in the dark since I couldn’t see exactly what I was capturing but I tried to pick out stars and made sure I overlapped the images to be able to make the pano in Lightroom.

Using LR, I edited the RAW files using presets, graduated filters and adjustment brushes. These changes are done to make the Milky Way pop when it comes to its brightness, contrast and color. I did use some new settings after watching material on YouTube that I liked the look of on these images.

Photoshop was used to finalize the images by first getting rid of unwanted objects using the healing and clone stamp brush such as lightening bug trails, wires and other objects. To get rid of a greenish/yellowish hue in part of the sky I didn’t like, I used the hue/saturation adjustment layer mask and brush tool to accomplish that. To get a nice blended look of the corn crib and barn with the night sky, I merged two images together and changed the layer that had the crib and barn to lighten mode to help blend them. I lucked out on not having to blend one of these images when a truck drove by on the gravel road and natural lit up the crib and barn.


With the summer winding down fast, I have just a couple more chances to get out and capture the Milky Way so hoping the weather will cooperate during those times and I can get out once again.

 #1.

#2.

#3.

#4.

#5.

#6.

#7.

#8.